In various discussions in biology circles there’s often the lament that “biology is hard” (which I agree) and from the biologists there are continued remarks that repeating a protocol in a slightly different way will have poor results. As an engineer I am fascinated by this because reproducibility is the key to making biology “easier to engineer”. Once a method is reproducible in different environments then it can be made into a black box for reuse without worrying about whether it will work under slightly varying conditions.
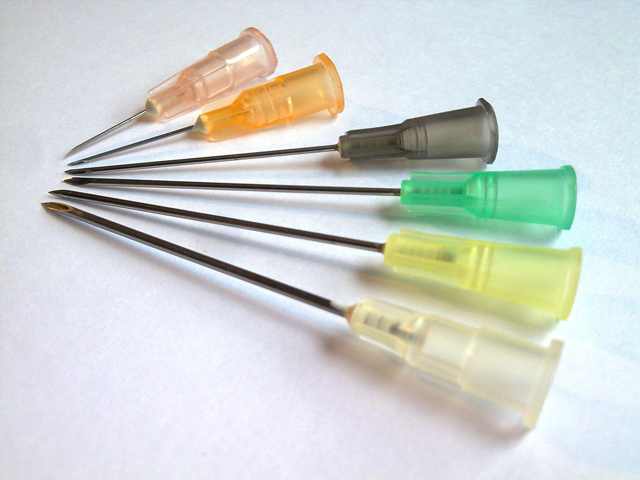
In one research paper, the chemical engineers dug into part of the reason why their experiment had differing results. They found that the size of needles varied considerably even within the same gauge and same vendor.

I wouldn’t have expected this. I also didn’t expect microtiter plates to vary in size even from the same vendor (enough to throw off the liquid handling robots) however they do. If engineers have a fundamental saying, it might be: “Learn to trust the equipment.” Without trust in the equipment (or biology protocol), then often experimental results can’t be trusted, or systems can’t be scaled up.
Here is a quote from the paper[1] (the results show needle manufacturing has an i.d. error of 30% !) :
Since needle size had such a significant effect on microbead size, it was decided to see if a correlation could be found between inside (i.d.) and outside (o.d.) needle diameter and microbead size. We also wanted to check the actual i.d. and o.d. with that supplied by the manufacturer. In four out of five measurements, the needle diameter (o.d.) as determined with the vernier calipers was found to be less than that supplied by the manufacturer (Table 1). Stereoscopic microscope analy- sis gave even smaller diameters. For example, in looking at the o.d. for a 21 G needle, values of 1000, 900, and 766 µm were obtained from the manufacturer, by vernier caliper and stereoscopic microscope, respectively. In all cases the actual needle size was smaller than the reported needle size. For example, the manufacturer reported needle i.d.’s of 800, 600, and 500 microns for 21, 23, and 25 G needles, stereoscopic microscope mea- surements showed that the i.d.’s were actually 500, 335, and 275 µm, respectively. The wall thickness varied from 128 to 307 µm.